OnBoard Assessments allow boards to gather structured feedback through customizable surveys in a secure, centralized platform. They help measure board and committee effectiveness, capture anonymous input, and turn results into actionable insights that improve governance and decision-making.
| Explore the Assessments course and others in OnBoard Academy - link: Assessments |
Intro to Assessments
An Assessment is a set of questions you send to board members or other participants so they can share feedback. An Assessment Admin is a user with permission to create, manage, open, close, and review the assessment. A Respondent is a user who is invited to complete it.
| NOTE: If Anonymous Responses is turned on, responses stay confidential. If Anonymous Responses is turned off, Assessment Admins can see respondent names in both downloaded and digital results. |
Create an Assessment
How Do I Create a New Assessment?
To create a new assessment, go to Actions and start a new item.
- Go to Actions.
- Click Create New.
- In the creation menu, click Assessment.
- Click Create Assessment.
What Details Do I Need to Enter?
To enter assessment details, fill in the basic setup fields before moving forward.
Add the following information:
- Title – The name of the assessment
- Due Date – When responses should be completed
- Description – Instructions or context for respondents
- Supporting Documents – Optional files to help respondents complete the assessment
- Anonymous Responses – Keeps responses confidential when selected
| NOTE: The Assessment will not automatically close on the due date. |
If Anonymous Responses is not selected:
- Assessment Admins can see respondent names in digital results
- Assessment Admins can see respondent names in downloaded results
- Click Save Changes to continue.
Manage Assessment Permissions
How Do I Add People to the Assessment?
To add people to the assessment, use the Manage option in the permissions area.
- Click Manage.
- Add participants by:
- Member – Add people one at a time
- Group – Add a pre-built group all at once
- Click Save Changes.
| NOTE: Use Groups when assigning assessment permissions, because you can add the group to the assessment once and everyone in that group receives the same access, then update access later just by adding or removing people from the group. |
What Should I Know About Permissions?
To understand permissions, remember that access in OnBoard is set separately for each item, including actions like assessments. Users must be added to the assessment to see or manage it, even if they have broader admin permissions elsewhere.
| For more details on permissions, visit this article: Understanding OnBoard Permissions |
Composing Assessment Questions
How Do I Start Composing Questions?
To start composing questions, open the question builder from the assessment page.
- Click Compose Assessment.
Should I Use a Template or Create a Custom Assessment?
To choose how to build your assessment, decide whether you want to start from a template or build from scratch.
You can choose:
- A pre-created assessment template – Best if you want a faster setup
- Custom Assessment – Best if you want to create your own structure and questions
| NOTE: You can still access questions from the templates in the question bank when creating a custom assessment. |
How Do I Edit the Assessment?
If you choose one of the pre-created templates, you can still modify it to suit your needs.
- Selecting Edit at the top right will display a drop-down menu.
- From the drop-down menu, you can:
- Edit category details
- Edit questions
- Duplicate the category
- Change the order of categories
How Do I Edit Individual Questions?
To edit an individual question, select Edit Questions from the dropdown, then click the three-dot menu next to a question.
From this menu, you can:
- Edit question details
- Duplicate the question
- Change the order of questions
- Delete the question
How Do I Change a Question’s Settings?
To change a question’s settings, open Edit Question Details.
Here you can update:
- The question text
- The question type
- The answer format
- Whether the question is required
- Whether write-in responses are allowed
If you turn on Require this question, respondents must answer it before submitting. Required questions show a small red dot.
- Make your changes.
- Click Save Changes.
How Do I Add a New Question?
To add a new question:
- Add or select a category.
- Click + Add New Question.
- Then choose one of these options:
- Blank Question – Create a completely new question
- Question Bank – Reuse an unused question from that category's question bank, if available
| NOTE: Multiple Choice Options (Radio Buttons & Checkboxes) are not available question types. |
Next:
- Enter the question text.
- Choose the question type.
- Decide whether the question is required.
- Decide whether to allow write-in responses.
- Click Save Changes.
How Do I Reorder Questions?
To reorder questions:
- Select the question you want to move.
- Then use the move buttons.
- Click Move Up to move the question earlier
- Click Move Down to move the question later
How Do I Return to the Main Assessment Page?
To return to the main assessment page, use Back until you return to the assessment overview.
- Click Back.
- Click Back again.
Open the Assessment
How Do I Make the Assessment Available to Respondents?
To make the assessment available to respondents, change its status from Draft to Open.
- Find the status menu that currently shows Draft.
- Open the drop-down menu.
- Select Open.
- Confirm that you are ready to open the assessment.
| NOTE: Questions cannot be edited after the assessment is opened. |
Can I Notify Respondents When I Open the Assessment?
To notify respondents when you open the assessment, use the notification prompt that appears before the assessment goes live.
Before the assessment opens, you can:
- Notify respondents
- Add a custom message
Respond to an Assessment
How Do Respondents Find an Open Assessment?
Respondents can access any assessment awaiting a response in three places:
1. From the Email Notification
Respondents receive an email when an assessment opens.
- Open the email from OnBoard.
- Click the link provided (for example, View Assessment).
- Sign in, if prompted, to open the assessment instantly.
2. From the Actions Section
To locate assessments from within OnBoard:
- Sign in to OnBoard.
- Select the Actions button in the left navigation menu.
- On mobile and tablet apps, select the three-dot menu and select Actions.
- Use the filter buttons to show only Assessments.
- Look under Awaiting Your Response.
- Select the Assessment to open it.
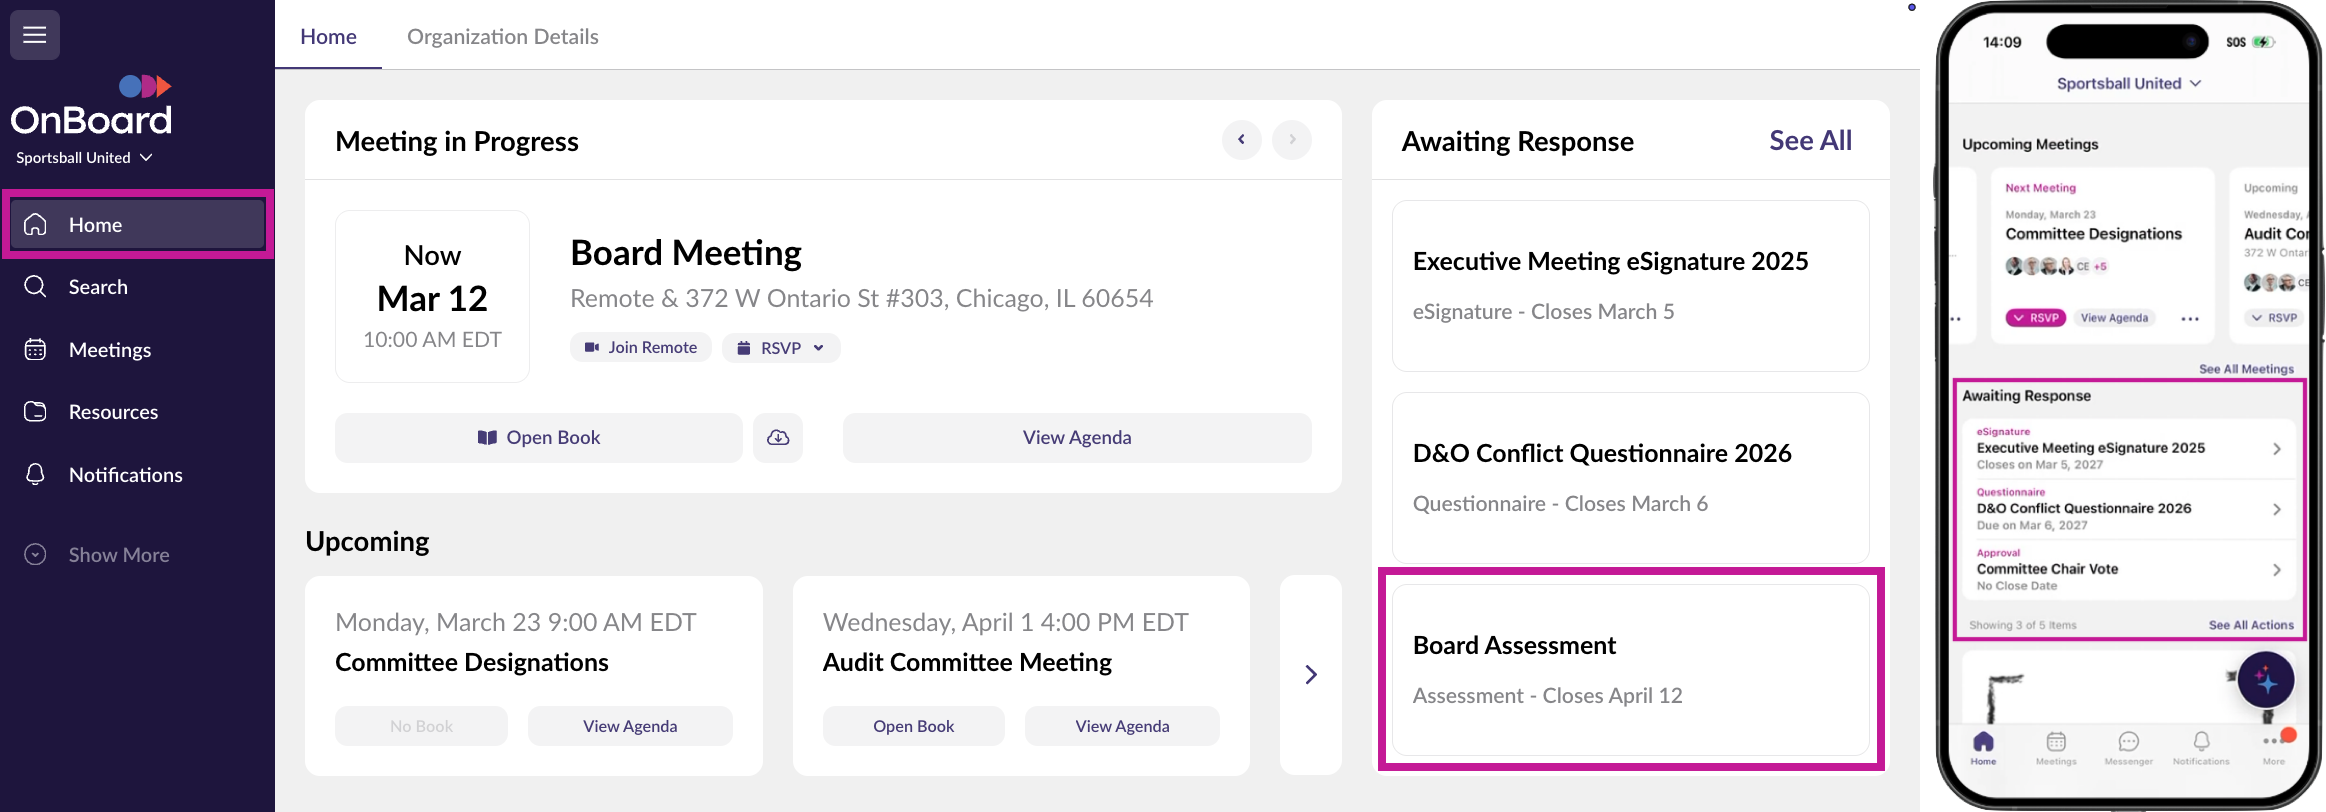
3. From the Home Page
The Home page shows all required actions, including assessments.
- Look at the Awaiting Your Response panel in the top right to find any open assessments.
 What Do Respondents See Before They Begin?
To see what appears before starting, respondents open the assessment overview page.
They can review:
- The description
- Any instructions
- The list of respondents
- Supporting documents, if included
Then they click Start Assessment.
How Do Respondents Complete and Submit the Assessment?
To complete and submit the assessment, respondents answer the questions and then submit their responses.
- Answer each question.
- Watch the progress bar at the top.
- Complete all required questions marked with a red dot.
- Click Submit Responses in the top-right corner.
After submission, the respondent returns to the assessment overview page and sees confirmation that the assessment was submitted.
| For more details on responding to Assessments, visit this article: Responding to an Assessment |
Send Reminders and Close the Assessment
How Do I Send a Reminder?
To send a reminder, use the Send Reminder button on the assessment overview page.
- Open the assessment overview page.
- Click Send Reminder.
Who Can Receive the Reminder?
To choose who receives the reminder, select the audience in the reminder window.
You can send a reminder to:
- All participants
- Only participants who have not submitted yet
You can also add a custom message.
- Click Send Reminder when ready.
How Do I Close the Assessment?
To close the assessment, change its status from Open to Close.
- On the assessment overview page, click Open in the status menu.
- Select Closed.
| NOTE: After an assessment is closed, no more responses can be submitted. |
Review Assessment Results
How Do I View Overall Results?
To view overall results, open the assessment overview page after responses have been submitted.
From this page, you can:
- See a results summary
- Download the results in an Excel workbook
- Open the full results page
- Click View Results for more detail.
What Appears on the Results Page?
To understand the results page, review the detailed data shown for each category and question.
This page includes:
- Category-level results
- Question-level results
- Detailed response data
How Do I Explore a Single Question?
To drill into a single question, click the question you want to review.
You can:
- See how respondents answered
- View write-in responses, if they were enabled
If write-in responses exist, click the speech bubble icon next to the score.
How Do I Download Assessment Results?
To download assessment results, use the Download Results option above the Overall Score.
- Click Download Results.
- Save the Excel workbook.
What is Included in the Downloaded File?
To understand what is included in the downloaded file, open the workbook after download.
The workbook includes worksheets such as:
- Assessment Info
- Aggregate Results
- Individual Responses
Duplicate an Assessment
How Do I Duplicate a Previous Assessment?
To duplicate a previous assessment, use the three-dot menu in the Actions list.
- Find the assessment in your Actions list.
- Click the three-dot menu to the right of the assessment.
- Select Duplicate.
What Gets Copied When I Duplicate an Assessment?
To understand what gets copied, review the list below. A duplicate assessment is created in Draft status.
The duplicate includes:
- Assessment Title, with “ - Copy” added
- Assessment Description
- Anonymous Assessment Responses setting
- Supporting Documents
- Assessment Permissions
- Assessment Questions
What Should I Do After Duplicating an Assessment?
To prepare a duplicated assessment, review and update the copy before opening it.
Check and update:
- Title
- Due date
- Description
- Permissions
- Questions
Then open the new assessment when it is ready.
Plan Information
Assessments are included in OnBoard's Ultimate Plan or available as an add-on. To add Assessments for your organization contact your Account Manager today.
FAQs
Can I Keep Responses Anonymous?
- Yes. You can keep responses anonymous by selecting Anonymous Responses when setting up the assessment.
- If this setting is turned on, responses remain confidential. If it is turned off, Assessment Admins can see respondent names in digital and downloaded results.
Can I edit a template after I choose it?
- Yes. You can edit a template after you choose it.
- You can update categories, questions, order, and question details to fit your board’s needs.
Can I make questions required?
- Yes. You can make questions required.
- Turn on Require this question when editing the question. Required questions show a small red dot and must be completed before submission.
Can respondents answer later and come back?
- Yes. Respondents can answer later and come back if the assessment is still open.
- They can leave the assessment and return before the close date.
Can I send reminders only to people who have not responded?
- Yes. You can send reminders only to people who have not responded.
- When you click Send Reminder, choose the option to notify only participants who have not submitted yet.
What happens when I close an assessment?
- When you close an assessment, no more responses can be submitted.
- Make sure all needed responses are in before closing it.
Can I download the results?
- Yes. You can download the results.
- Use Download Results to save an Excel workbook with assessment details, aggregate results, and individual responses.
Can I reuse a past assessment?
- Yes. You can reuse a past assessment by duplicating it.
- The duplicated version starts in Draft status, so you can update it before sending it again.
Comments
0 comments
Please sign in to leave a comment.